


Hole 9
Watson Course
Par 3
185
175
164
127
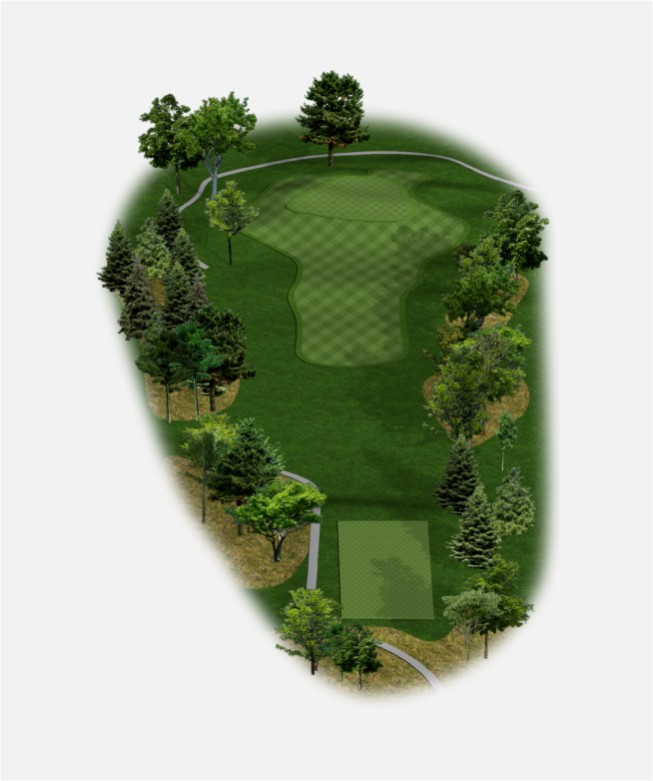
Two carefully placed shots will find the green and provide for a “look at birdie” at the last! The secret is a tee shot down the centre of no more than 175 yards in order to clear the dogleg. The result is a clear view of the green that looks deceptively smaller because of the green side bunker coverage on the right, left and back of this challenging green.
Copyright © 2016 POWERED BY T2GREEN
 Hover over a camera point for photos.