


Hole 2
Watson Course
Par 3
146
135
92
92
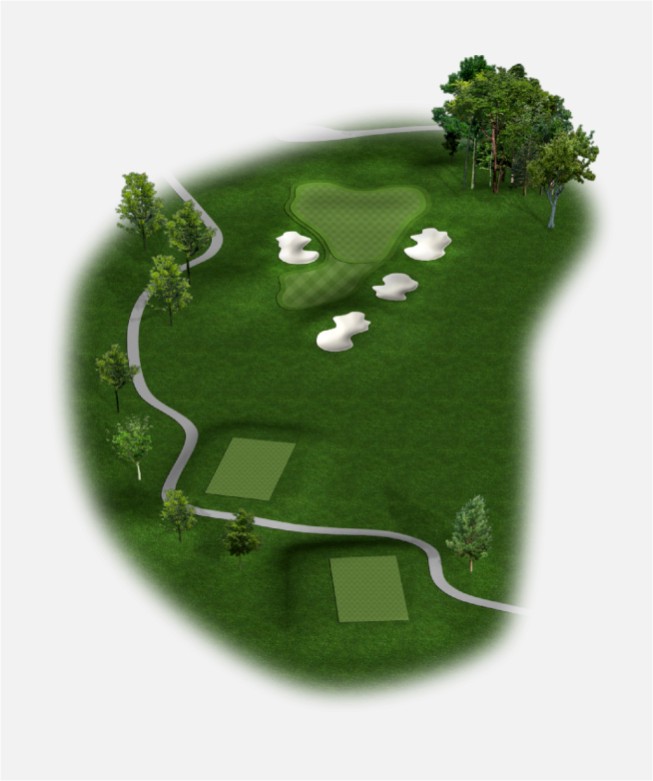
The tee shot at the 2nd hole invites players to either stay left and clear of the fairway bunkers, with a resulting clear look at the green, or an opportunity to “take on” the same bunkers and leave a short, yet delicate, pitch shot to Watson’s most sloping green. Three putts are easily attained on this green!
Copyright © 2016 POWERED BY T2GREEN
 Hover over a camera point for photos.